How to Build Custom Skids for Equipment
Maximizing protection for transportation
At SIGMA Equipment, we build custom skids for every piece of equipment in our SIGMA-owned inventory to offer protection when moving. Skids provide the security needed to keep our equipment in the best condition possible by decreasing the chance of tipping or bumping into other objects.
We’ll go over the following in this document:
- How long and wide to make a skid
- Building the skid
- Placing the equipment on the skid
- Blocking in the equipment
- Strapping equipment in
Materials and Tools needed:
- 4x4s or 4x6s cut to size
- Rechargeable Impact Drill
- ½ inch by 6-inch lags
- ¾ inch drive socket
- Synthetic banding with one-inch clips
- Tape measurer
- Sharpie
How long and wide to make the skid
When starting to build your skid, measure the length and width of the piece of equipment. With those measurements, add at least four inches to all sides of the skid, remember, more is always better. We want the machine’s footprint to be within the skid to form a security cushion. A wider construction protects the equipment from potentially bumping into other objects when moving it around. If you bump into anything, it’ll most likely hit the bottom of the skid instead of the machine.
Building the skid
We use two types of boards when building skids. For the runners that run against the ground, we use 4X4s or 4X6s. 4X6s are mostly used for larger or heavier pieces of equipment to better support their size and weight.
We also use 4X4s and 4X6s for the cross boards that go across the skid connecting to the runners on each side. The crosses are what the machine’s legs actually sit on and where the forklift picks up the skid. Due to this, make sure you measure the distance between the equipment’s legs to ensure they will properly sit on the crosses. Depending on the leg and foot size of the equipment, you may need a 4X6 to support the equipment.
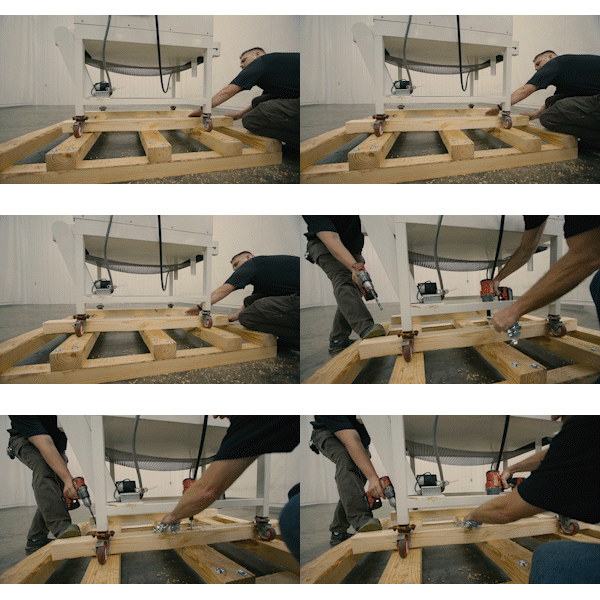
We use 1/2-inch by six-inch lags to connect the cross boards to the runners. To avoid splitting the wood, pre-drill with an impact drill using a 7/16 drill bit. Once you have pre-drilled, drive in your lags to connect each cross board with the runners underneath to secure them together.
We also want to avoid driving lags parallel to each other on the same board. This could also cause the wood to split. Instead, when driving them in, make sure they are diagonal to each other.
Placing equipment on the skid
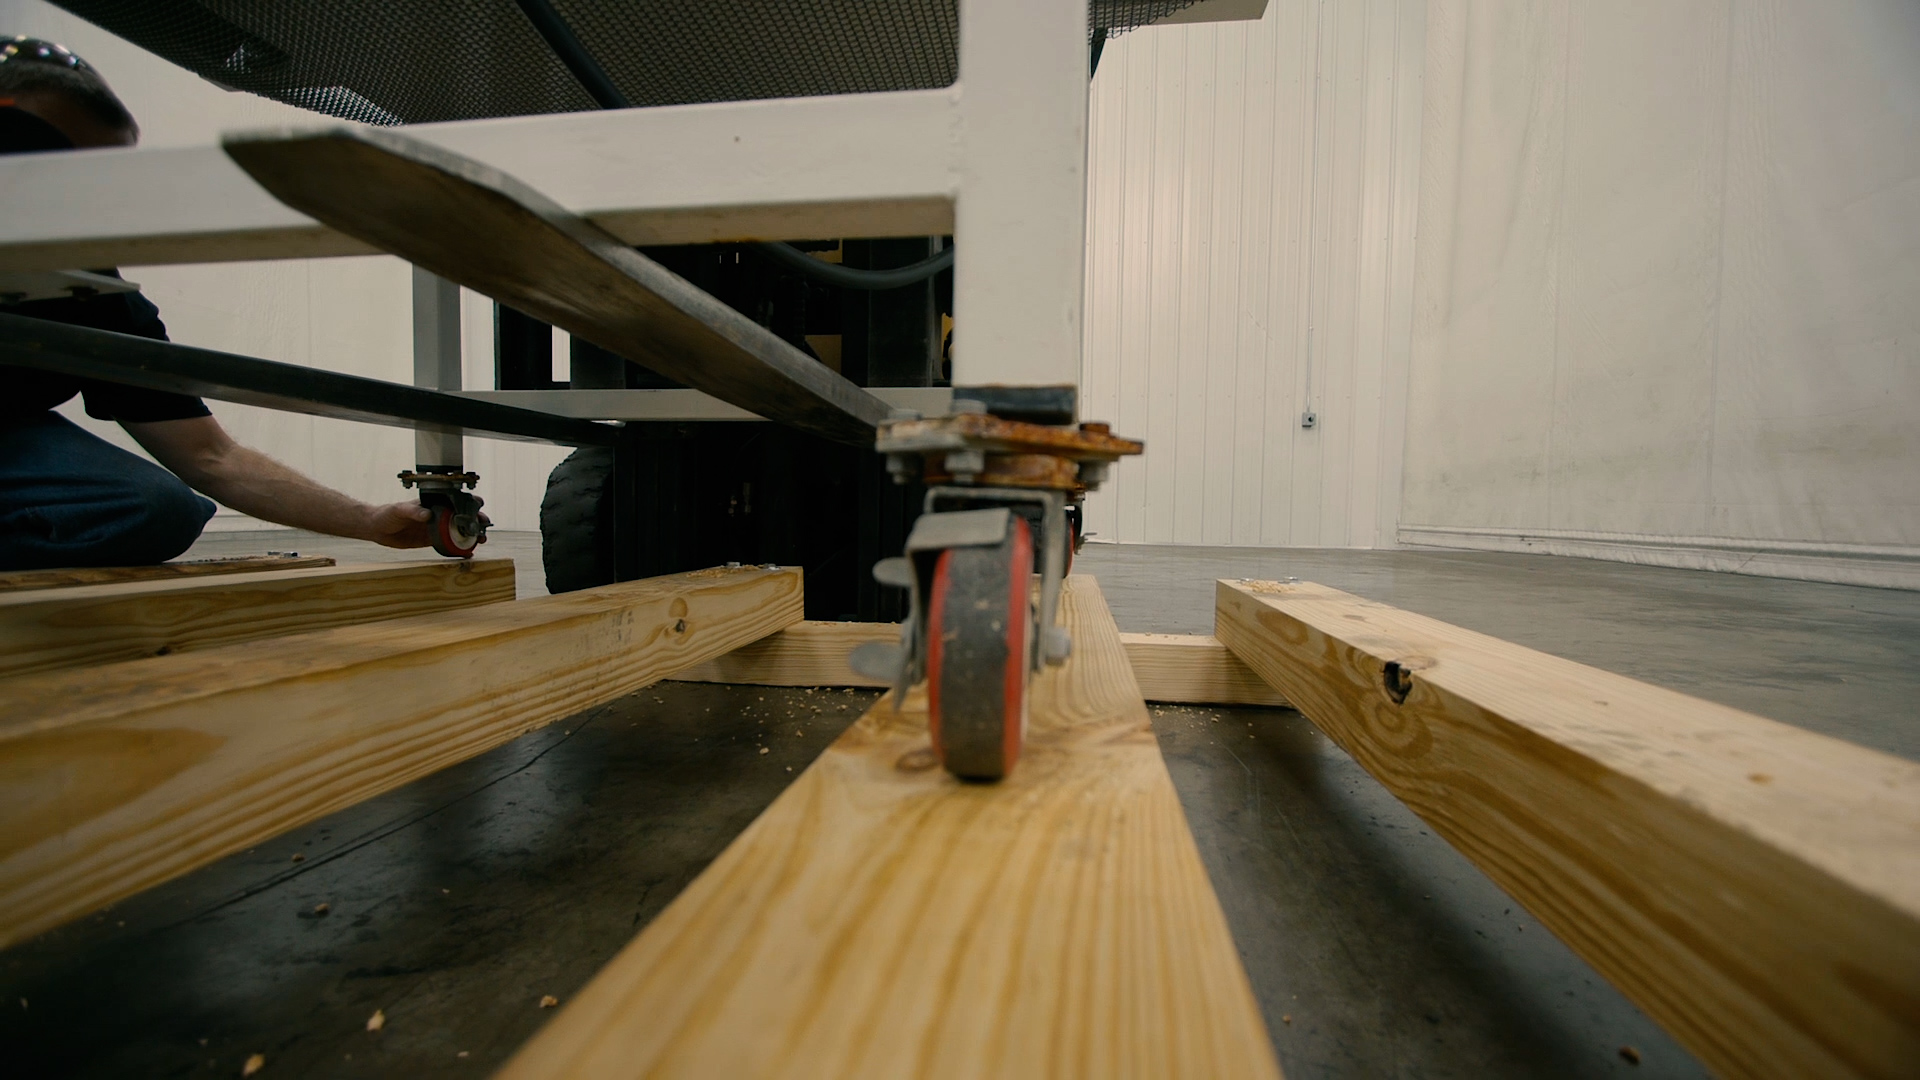
Now that the base of the skid is built, we can use a forklift to place the equipment on the skid. When lifting the equipment, find a strong part of the machine that can be used to pick it up without causing damage. Be sure to align its legs to be placed squarely on the cross boards. If your equipment has wheels, it’s essential to have them all facing the same direction.

This helps when blocking the legs, giving you tight contact with the block against the equipment.
Blocking equipment on the skid
Once you have your equipment securely on the cross boards, you are ready for blocking. For maximum security, we want to block the unit’s legs on all sides. First, take two pieces of either 4X4s or 4X6s, cut to size, and place them up against the inside part of the legs. Make sure they are both tightly connected to the machine. Pre-drill using your 7/16 drill bit before driving lags in the block and into the cross boards underneath. Always drill at a roughly 45-degree angle so the lag will pull the board closer to the equipment.
Now take two more pieces of 4X4s or 4X6s for the other two sides of the unit. This time, push them tightly up against the outside part of the legs, blocking it in on every side. Then once again, pre-drill the block before driving lags into the block we previously laid down.

Strapping equipment to the skid
The final step in the skidding process is using synthetic banding to strap the equipment to the skid. Take the banding over the top of your machine and through the skid underneath to fully secure the two together. Always make sure to place your banding across strong and stable parts of the equipment. You want to avoid banding across weak points, which can damage the equipment once the banding is tightened down.
Summary
When working with expensive pieces of equipment, it’s important to take time to secure and protect them. You can do this by building custom skids for each individual unit. Equipment sizes are unique and cannot be fully protected with generic skids that have limited space. By building your own skids, you provide your equipment with a cushioned nest to protect it while moving.

